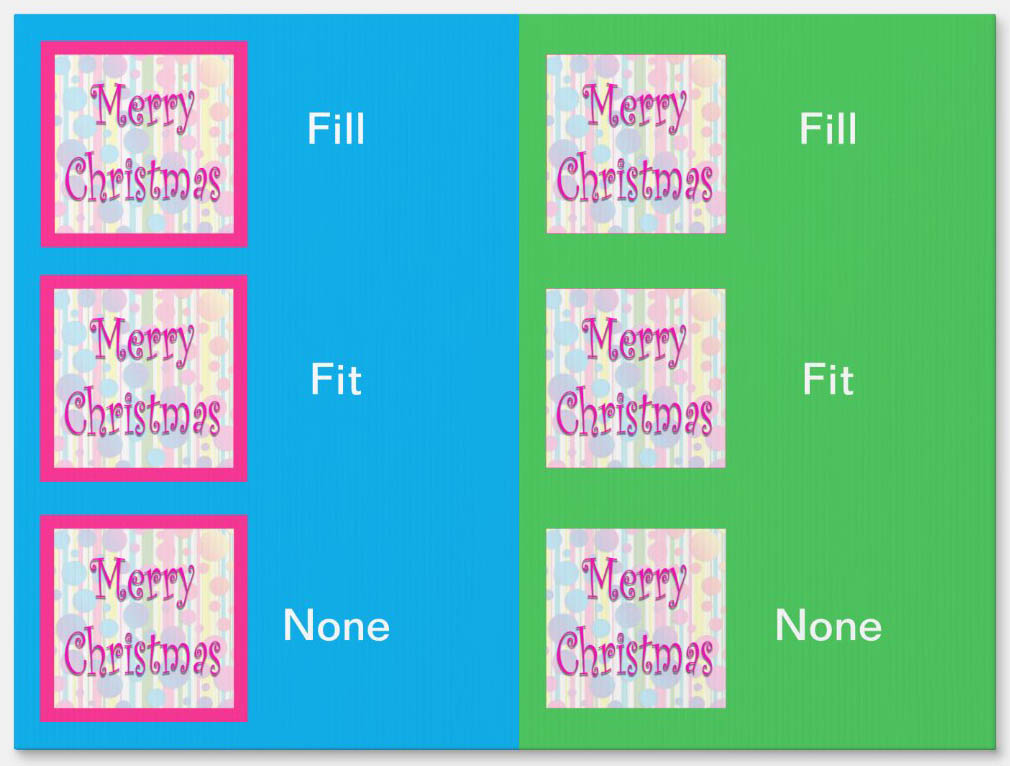
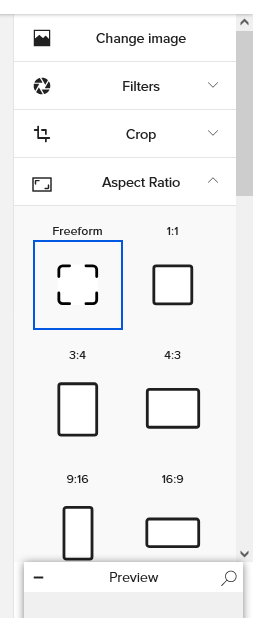
When you set an image as a template there are various options at your disposal:
Fill, Fit, or None - determines how the user-uploaded image fills the designated template area.
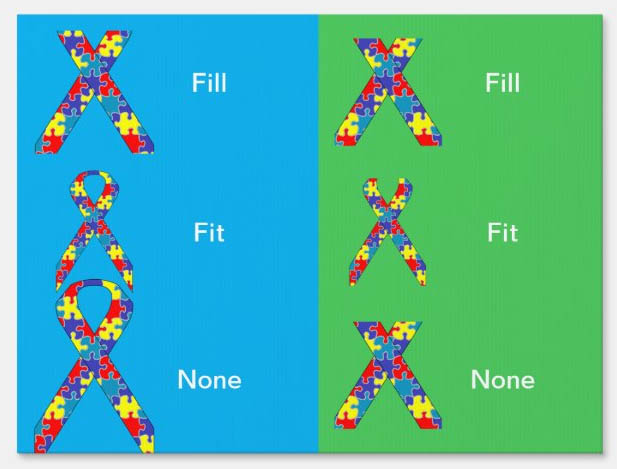
* Fill = will resize the customer’s image to fill the entire dimension of your placeholder image. If their image is a different size than the placeholder, it will result in cropping and/or zooming of their image.
* Fit = Will resize the customers image, maintaining proportions, to fit inside the dimensions of your placeholder image. This ensures their image will not be cropped off, but can result in background space showing.
* None = the customer’s image simply replaces your placeholder image and may be larger or smaller.
Masking - a separate shape layer added that virtually transparentizes part of the image
Cropping - changes the shape of the image
Flipping, Rotating - changes the positioning of the image
All these choices, alone or in combination, can get really confusing but there can be rather drastic consequences on the customer’s end so I think it’s important to get a grasp on them.
Since I don’t do many image templates myself I’ve been all over the map on this recently so finally made a live demo I could use for quick & easy testing & learning.
This all is probably old hat to many, but may be helpful for others like me trying to get a grip on how this all shakes out. (And there’s one combo I ran into that is a definite DO-NOT-DO.) So …
1) The Adjust button does not appear on the product page to you as the designer.
If you want to see what the Adjust button does you have to view your product as someone else / anon shopper.
2) The Adjust button on the product page personalize menu won’t appear to a customer until after they have used Replace to upload their own image.
3) The Adjust button only appears for template images you have set to Fill.
For plain templates, a customer can use the Adjust button to move their image around within the placeholder’s dimensions and/or resize it to make it fit better. However - and this is where the big problem comes in - if you’ve selected Fill for a template image you have also masked, things do not work as one might expect and it could cost you the sale.
Masking an image has the effect of cropping/cutting off parts of the user-uploaded image so it’s the mask shape. When a customer uses Adjust to tweak the size/positioning of their image within your masked placeholder dimensions, they can only see that “cropped” portion of their image. They can move that part of the image around and/or resize it, but there is no way for them to edit or even see their original size image. So if the part of the image that is showing is not the part of the image they want showing, there is no way for them to fix that, they are stuck with the “cropped” portion of their image. The only way for a customer to tweak their image is to
- enter the Design Tool
- click on the masked layer Group
- click the Unmask button
- click on the image layer
- click the Crop button
- this reveals the original boundaries of the image plus the boundaries created by the mask - use the confusing drag handles to “un-crop” it and drag it to desired size/crop.
- click Done to preview results
This is so difficult to explain in just writing that I don’t think there’s a chance in heck that a customer would figure out these steps if they need to tweak an image they uploaded via Replace on the product page template menu. They’re going to see that their uploaded image isn’t showing the portion they want and that the Adjust button isn’t letting them fix it and even if they go ahead and enter the Design Tool, odds are very much against them figuring this out. So using Fill on a masked image template is the DO-NOT-DO thing; it prevents the customer from being able to tweak things to work if their uploaded image isn’t a perfect match for the masked template dimensions.
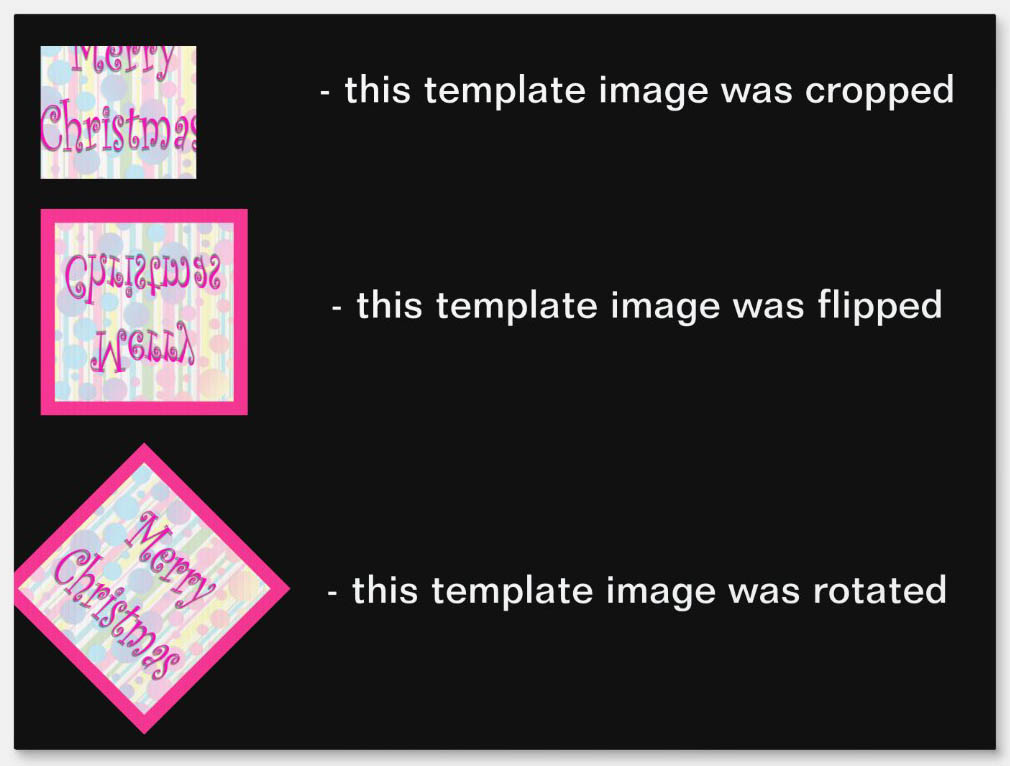
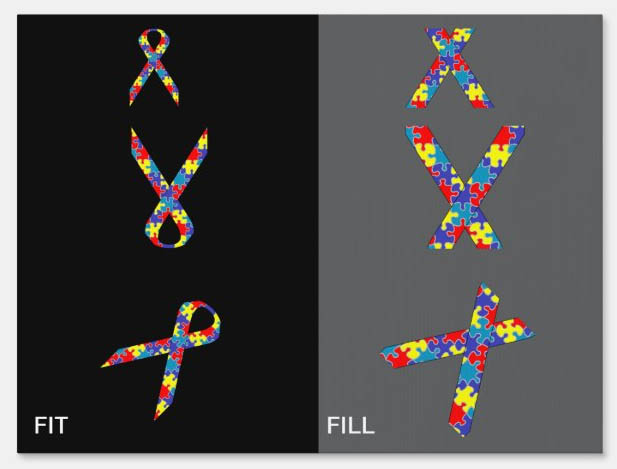
4) Moving past the Adjust issue with masked images set to Fill, the other important thing to be aware of is that anything you do to your template image will also be done to the customer’s uploaded Replace image. So if you’ve cropped, flipped or rotated your placeholder image, theirs will be too. There are cases where this could work but there are many cases where it’s just going to leave the customer perplexed and frustrated as to why their uploaded image is turning out upsidedown or backwards or cropped off…
So while I am a novice at image template, from my experimenting I can confidently suggest that
- never use Fill on a masked image
and - while it’s tempting to recycle an image you already have on file by cropping, rotating, flipping it to work with your new design, DON’T do that if its going to be a template image as it will create chaos for the customer.
Here is the live demo model I made.
It uses the same 1500 x 1500 square image as a template, as Fill, Fit and None, plain (blue), masked (green), and also cropped. flipped & rotated (black back side). You can use this demo from a customer’s perspective to compare how the different options turn out when uploading your own image via the Replace template option.
|
|
|